Wednesday, November 29, 2017

November 30th- Final Blog Post

For this blog I decided to talk about what I learned from this course.  Originally, I did not know much about photography in October.  The only thing I knew how to do was snap a photo and print it out, as is, at Costco or Target.  I know have a deeper understanding for photography that I plan on furthering throughout the rest of my life.
First of all, I learned the most about camera settings.  I know understand the ISO and aperture values and consider each when taking a photo.  A higher ISO means more light is being let in, so on a bright sunny morning, I would want my ISO value to be 200 or less, depending on how much light is in the sky.  I also figured out how to better set up my shot so that I have less cropping and cloning to do later.  I have learned how to look at my image on the camera and decide right there is there is something major that needs to be removed, or a different angle needs to be taken in order to get a better image.  This would allow me to use lightroom less for this step, and more for colors.
I hope to continue using these techniques throughout the rest of my life because I can create better photos of my family members and any vacations I go on.  I am happy that I took this class, and I will recommend it to anyone that has an interest in photography.  Dave is a wonderful professor!

I thought I would include a few pictures from the first weekend I went shooting, along with some of my more recent photos.

Before


After


Monday, November 20, 2017

Final Images

All of these images were taken with a Nikon D40.  I used a 55 mm lens for most of the photographs and a 600mm lens for some of them, but this information is provided with each picture. 

Among The Waterfalls 
ISO 200    45mm   f/36   0.8 seconds

Beartooth Pass, Redlodge MT
ISO 800    26mm   f/16    1/250 sec

Beautiful Blue Hot Spring
ISO 200   18mm   f/18   1/100 sec

Black and White Mountain 
ISO 200   195mm  f/18   1/160 sec

Chicken in the Backyard
ISO 800   55mm   f/5.6   1/60 sec

First Professional Photo- Sunflower
ISO 800   52mm   f/8.0   1/125 sec

Lost in Red Lodge, MT
ISO 800   34mm   f/16   1/50 sec

Morning Frost on a Log
ISO 400   50mm   f/7.1   1/30 sec

The Swan
ISO 200   500mm   f/7.1   1/640 sec

Grand Prismatic- Yellowstone
ISO 200   18mm   f/14   1/1000 sec

Snowy Trees
ISO 200   38mm   f/7.1   1/400 sec

Lonely Duck in the Lake
ISO 400   600mm   f/13   1/80 sec

Frozen Flower in the Morning
ISO 400    45mm   f/7.1   1/13 sec

Creek at Riverfront Park  Billings, MT
ISO 400   34mm   f/4.5   1/100 sec

Soaring over the Lake
ISO 200   55mm   f/13   1/1600 sec

Interesting Log
ISO 800   35mm   f/8.0   1/25 sec

Mountain in Yellowstone
ISO 200   46mm   f/7.1   1/800 sec

Shadowed Blue Hot Spring
ISO 200   19mm   f/7.1    1/200 sec

Sunset in the Distance 
ISO 400   55mm  f/16   1/13 sec

Sunset and Fog
ISO 200   34mm   f/16   1/320 sec

Waterfall from Behind the Trees
ISO 200   55mm    f/16   1/30 sec

Red Leaves
ISO 800    48mm   f/6.3   1/100 sec


Mud Pot in Yellowstone
ISO 200    55mm    f/5.6    1/3200

Waiting for Sunrise
ISO 200    48mm    f/13   1/160 sec

Turn Around Please
ISO 200    600mm   f/11    1/60sec


Tuesday, November 14, 2017

Blog 11/16- Photographing Northern Lights

nl2

I chose to do this weeks blog post about the Northern Lights.  i have always wanted to find the time to go out and photograph the Northern Lights, I just feel as though I don't quite know what to do.  This article is kind of a beginner's guide to taking pictures of the Northern Lights.  The article was also useful in education me about what the Northern Lights actually are.  I am interested in science, and the information presented in this article is very interesting. 
I found it interesting that the colors and concentrations of the colors depend on what particular gas particles are in the atmosphere at the time. As far as photography goes, it is best to take pictures within latitudes of the Arctic Circle. The ISO value should be set between 800 and 3200, f stop between 2.8 and 5.6, and shutter speed should be between 15 and 20 seconds.  one should also use protection for the camera gear if shooting on a particularly cold day.
I am glad I found this article because I now know generally the range in which my settings should be when I go out to photograph the Northern Lights. 


Tuesday, November 7, 2017

Share 2 and Critique 11/9/17


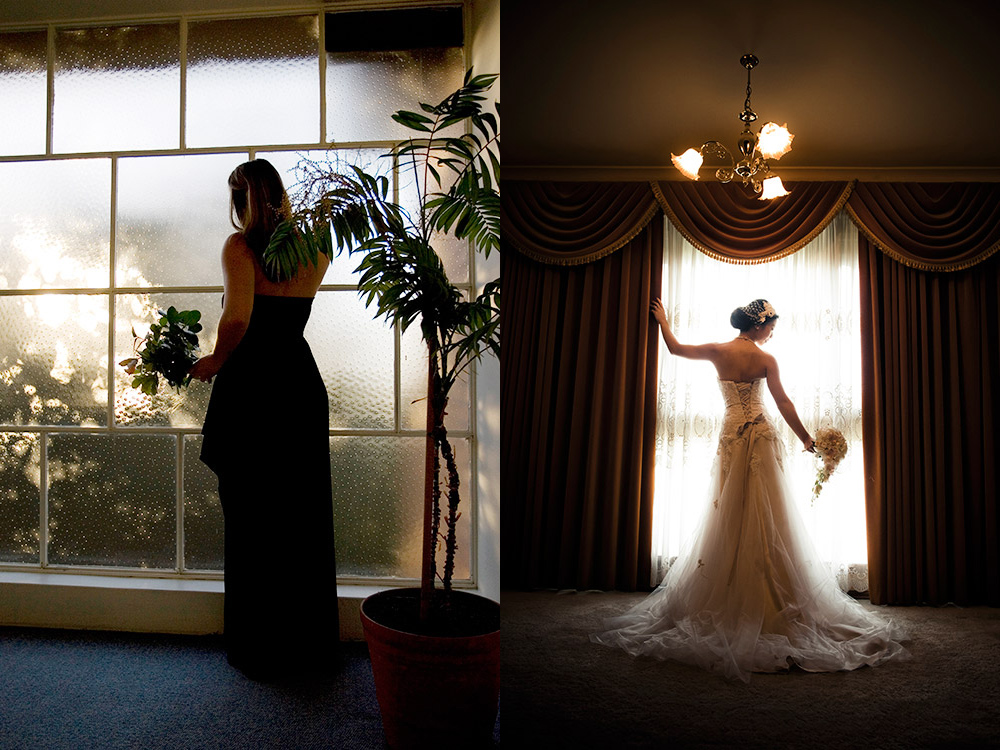
Wedding Photography Blog Post 11/9/17

wba2

Wedding Photography Tips
Wedding photography has always been something that I have been interested in.  I have learned so much throughout the semester about nature and landscape photography, but I wanted to analyze another aspect of photography.  This article highlights some of the main tips that photographers should have when doing wedding photography. 
The tips include: 
Knowing your gear inside and out- The author talks about knowing all of the camera aspects and lenses, just as we have been doing throughout our class.  In this section, the author also mentions using a subject for practice when analyzing what poses and what light the cameras and specific lenses work well in. 
Scout the Locations-  The author talks about going to the site of the wedding or reception to visualize where the subjects would look best in pictures and what the background will look like.  This is such a good idea because every place is so different, and if you know the area already, it is easier to situate the photo session which also makes the night go smoothly. 
Write a shot list and memorize-  The author talks about writing down everything that one would like to get a picture of.  There are so many details that g into a wedding that it is easy to miss a certain aspect that was originally wanted. It would be nice to know exactly what you want when going into the shoot.
Assist as much as you can- The author says that the sooner you assist, the more prepared you are. The photographer will get more involved and know what the shoot is capable of capturing. 
Shoot a fake wedding-  The author says that practicing with a fake wedding is beneficial because one can practice and take many shots without the pressure of everything being perfect.

All of these tips were very helpful, and I would utilize them if I ever began shooting weddings!!

November 30th- Final Blog Post

For this blog I decided to talk about what I learned from this course.  Originally, I did not know much about photography in October.  The o...