First of all, I learned the most about camera settings. I know understand the ISO and aperture values and consider each when taking a photo. A higher ISO means more light is being let in, so on a bright sunny morning, I would want my ISO value to be 200 or less, depending on how much light is in the sky. I also figured out how to better set up my shot so that I have less cropping and cloning to do later. I have learned how to look at my image on the camera and decide right there is there is something major that needs to be removed, or a different angle needs to be taken in order to get a better image. This would allow me to use lightroom less for this step, and more for colors.
I hope to continue using these techniques throughout the rest of my life because I can create better photos of my family members and any vacations I go on. I am happy that I took this class, and I will recommend it to anyone that has an interest in photography. Dave is a wonderful professor!
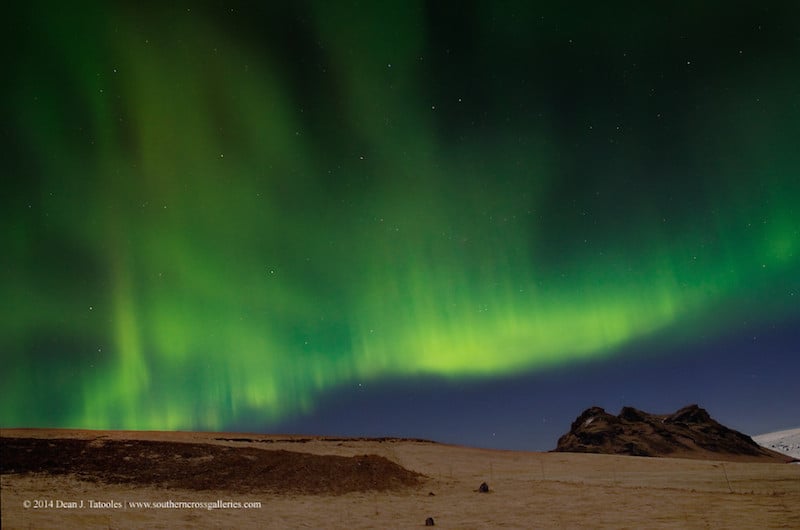
I thought I would include a few pictures from the first weekend I went shooting, along with some of my more recent photos.
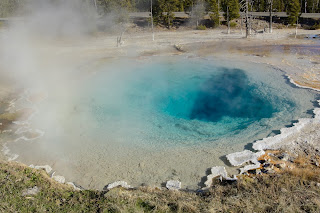
Before


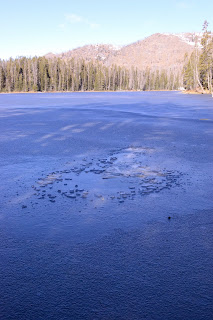
After